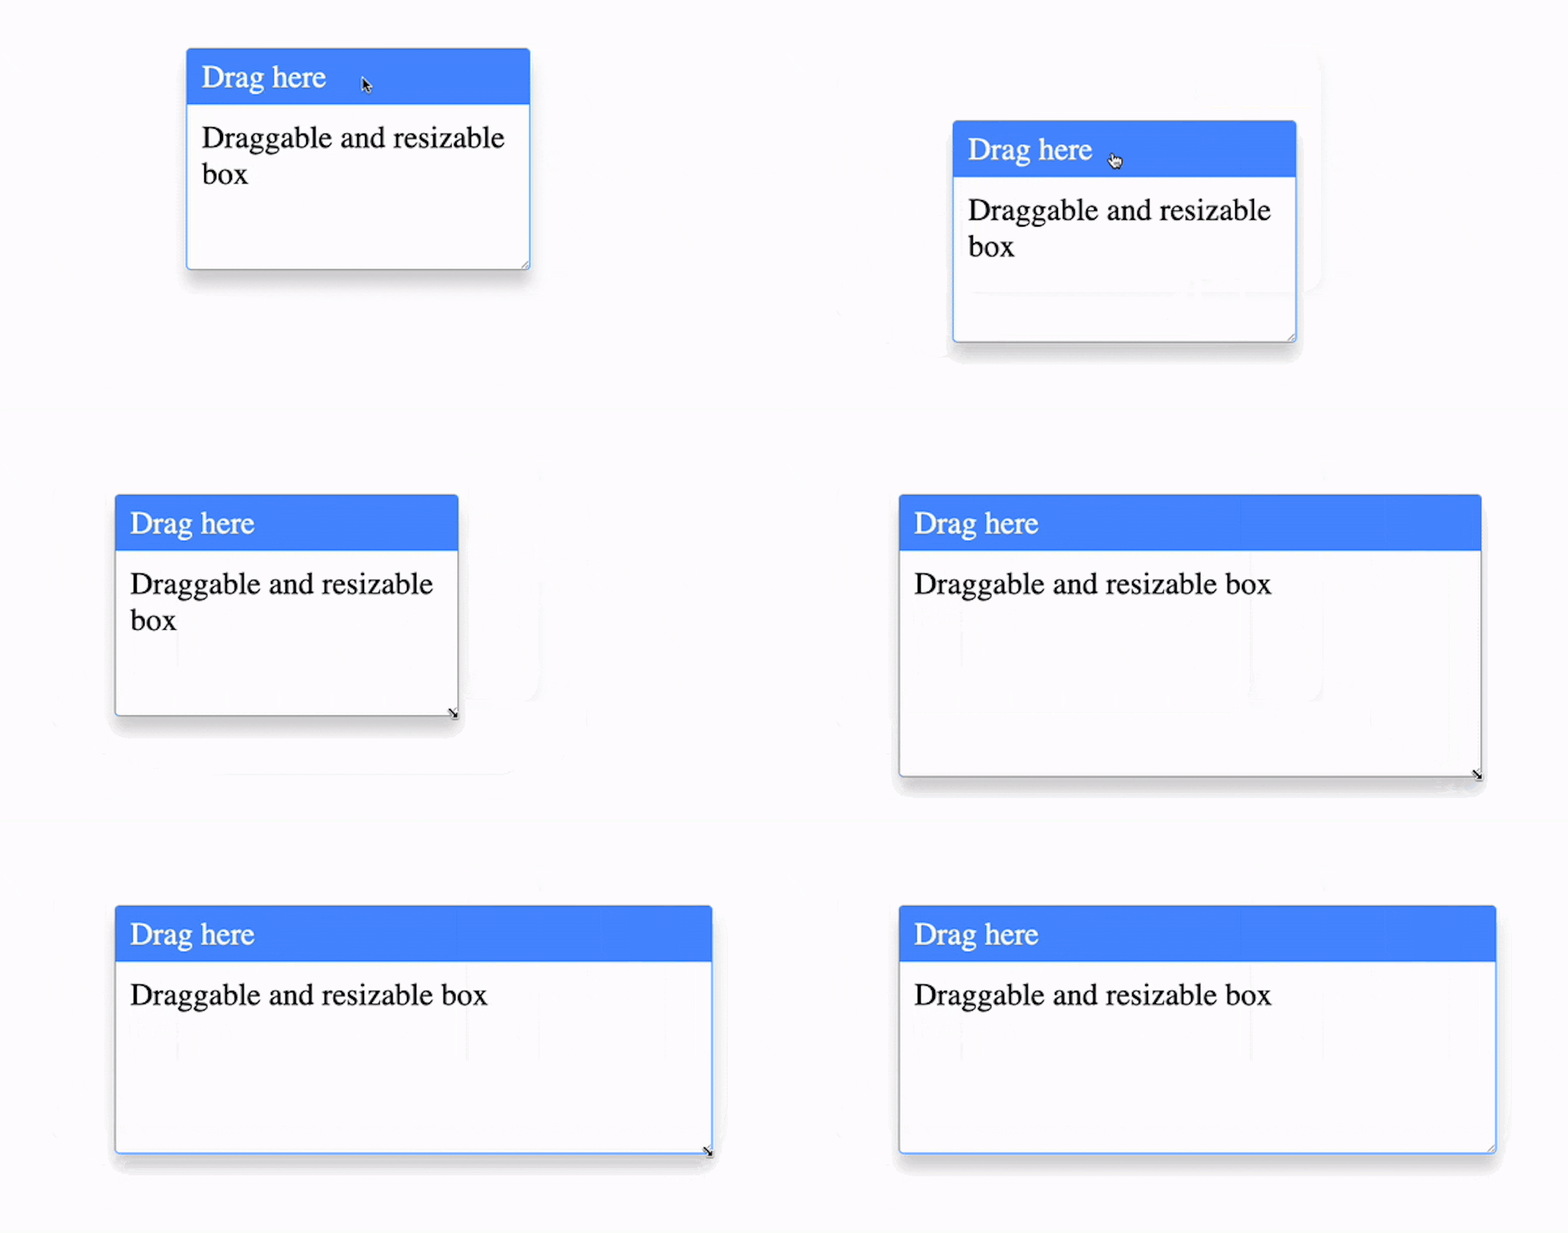
I recently needed to create a small popup element that could be dragged around the page and remember its new position. This is not the behaviour that the default dragging=true attribute provides and so wanted to share my solution for this.
For this demo, I have simplified the contents of the popup and divided it into two sub-parts a .box-header and a .box-body . The solution uses two custom data-attributesdata-draggable and data-resizable that are added to the parent .box div.
I prefer to use data-attributes when the behaviour of an element is modifified using javascript as it is very obvious that the javascript and the html markup are tightly coupled. When classes are used to carry out the same purpose, this coupling between the javascript and the CSS is far less obvious. This means that at some point (especially on larger teams) these data-attributes are less likely to be accidentally modified by someone refactoring CSS classes.
<div class="box" data-draggable="true" data-resizable="true">
  <div class="box-header drag-handle" data-drag-handle="true">Drag here</div>
  <div class="box-body">Draggable and resizable box</div>
</div>
Before we go any further, we should note that the draggable feature that we are implementing here is not the native draggable="true" attribute that can be used to drag an element's ghost as shown in the code lab below. Dragging the box will create a ghost of the original element and it is the ghost that is moved around the screen.
Instead, we intend to move the actual box around the screen and then hold the new position after we have stopped dragging. The lab below demonstrates this.
The index.html and styles.css files are very straightforward. Let's look at some of the app.js code.
Setting up the resizable feature
function setupResizable(){
  const resizeEl = document.querySelector('[data-resizable]');
  resizeEl.style.setProperty('resize', 'both');
  resizeEl.style.setProperty('overflow','hidden');
}
As we have decided not to use classes to add this functionality to the .box element, we add the two styles resize: both and overflow: hidden. This resize CSS property allows us to control how an element can be resized. The overflow: hidden CSS property is added as with the default value of overflow: visible the resize property will be inactive.
Implementing the draggable functionality
function dragStart(event){
  dragEl = getDraggableAncestor(event.target);
  dragEl.style.setProperty('position','absolute');
  lastPosition.left = event.target.clientX;
  lastPosition.top = event.target.clientY;
  dragHandleEl.classList.add('dragging');
  dragHandleEl.addEventListener('mousemove', dragMove);
}
When an element drag is started, we define the element as position: absolute which allows us to set the position relative to its relative ancestor without affecting the flow of the page. In some cases, it might be more suitable to use position: fixed. We record the starting position of the mouse or pointer so that we can track how much it has moved since the last position was set. Finally, we add a mousemove event listener to take action when the mouse is further moved.
function dragMove(event){
  const dragElRect = dragEl.getBoundingClientRect();
  const newLeft = dragElRect.left + event.clientX - lastPosition.left;
  const newTop = dragElRect.top + event.clientY - lastPosition.top;
  dragEl.style.setProperty('left', `${newLeft}px`);
  dragEl.style.setProperty('top', `${newTop}px`);
  lastPosition.left = event.clientX;
  lastPosition.top = event.clientY;
  window.getSelection().removeAllRanges();
}
With each movement of the mouse, we calculate the getBoundingClientRect() of the draggable element. Once we know the current position of the .box div (our draggable element), we calculate new the left and top positions using the distance the mouse/pointer has moved since its last position. We can then update the left and top positions of the .box div and the lastPosition object values.
In this example, we are also calling removeAllRanges() which prevents any text from being selected/highlighted.

